投稿日: 2023年10月8日
最終更新日: 2024年5月3日
HugoにTailwind CSS 3をインストールしてみます。
Hugoプロジェクトの作成
hugo new site hugo-tailwind-css-3-sample
cd hugo-tailwind-css-3-sample
git init
Tailwindのインストール
pnpmでTailwindをインストールします。TailwindはPostCSSのプラグインなので、PostCSSのインストールも必要です。
pnpm init
pnpm add -D autoprefixer postcss postcss-cli tailwindcss.gitignoreを作成し、そのファイルにnode_modulesを追記します。
これによりnode_modulesがGitの管理対象から除外されます。
/node_modulestailwind.config.jsとpostcss.config.jsを作成します。
pnpm tailwind init -pCache bustersの設定
Hugo 0.112でTailwind CSS 3がサポートされました。Hugoは、HTMLをビルドするタイミングでhugo_stats.jsonに自動的にTailwindのクラスを追記します。そして、このhugo_stats.jsonの内容が変更されるたびに、CSSファイルをビルドし直します。
hugo_stats.jsonの内容に応じてTailwindのコードを生成させるために、tailwind.config.jsを変更します。
/** @type {import('tailwindcss').Config} */
module.exports = {
  content: [
    "./hugo_stats.json",
  ],
  theme: {
    extend: {},
  },
  plugins: []
}
hugo.tomlにCache bustersの設定を追加します。Cache bustersはその名の通り、キャッシュを削除するための設定オプションです。
baseURL = 'https://example.org/'
defaultContentLanguage = 'ja'
languageCode = 'ja'
title = 'タイトル'

[module]
[[module.mounts]]
source = "assets"
target = "assets"
[[module.mounts]]
source = "hugo_stats.json"
target = "assets/watching/hugo_stats.json"

[build]
[build.buildStats]
enable = true
[[build.cachebusters]]
source = "assets/watching/hugo_stats\\.json"
target = "style\\.scss"
Hugo 0.112から0.114まではwriteStats = trueというオプションを指定していましたが、Hugo 0.115からbuild.buildStatsにenable = trueを記述する形式に置き換えられました。writeStatsは現在非推奨のオプションであり、将来的に廃止される予定です。
hugo_stats.jsonについてもnode_modulesと同様にGitの管理対象から除外しておきましょう。
/node_modules
/hugo_stats.json続いてassetsディレクトリにcssディレクトリを作成し、その中にstyle.scssを作成します。
@tailwind base;
@tailwind components;
@tailwind utilities;
レイアウトの作成
layoutsディレクトリに_defaultディレクトリを作成し、その中にbaseof.htmlを作成します。
<!DOCTYPE html>
<html lang="{{ with .Site.LanguageCode }}{{ . }}{{ end }}">
  <head>
    <meta charset="utf-8">
    <meta name="viewport" content="width=device-width, initial-scale=1.0">
    <title>{{ block "title" . }}{{ end }}</title>
    {{ $style := resources.Get "css/style.scss" | toCSS | resources.PostCSS }}
    {{ if hugo.IsProduction }}
      {{ $style = $style | minify | fingerprint | resources.PostProcess }}
    {{ end }}
    <link href="{{ $style.RelPermalink }}" rel="stylesheet" />
  </head>
  <body>
    <main>
      {{ block "main" . }}{{ end }}
    </main>
  </body>
</html>同じくlayouts/_defaultディレクトリにindex.htmlを作成します。
{{ define "title" }}
{{- .Site.Title -}}
{{ end }}
{{ define "main" }}
<div class="text-5xl text-red-500">
  {{ .Content }}
</div>
{{ end }}
コンテンツの作成
ホームに表示するコンテンツを作成するために、マークダウンファイルを作成します。
hugo new content/_index.mdcontent/_index.mdを開いてHello, Hugo!という文字列を追記しましょう。追記したら、フロントマターのdraftをfalseに変更してコンテンツが公開されるようにします。
+++
title = ''
date = 2023-10-09T01:18:58+09:00
draft = false
+++

Hello, Hugo!
Tailwindの動作確認
Hugoのサーバーを起動して、Tailwind CSS 3が動作することを確認します。
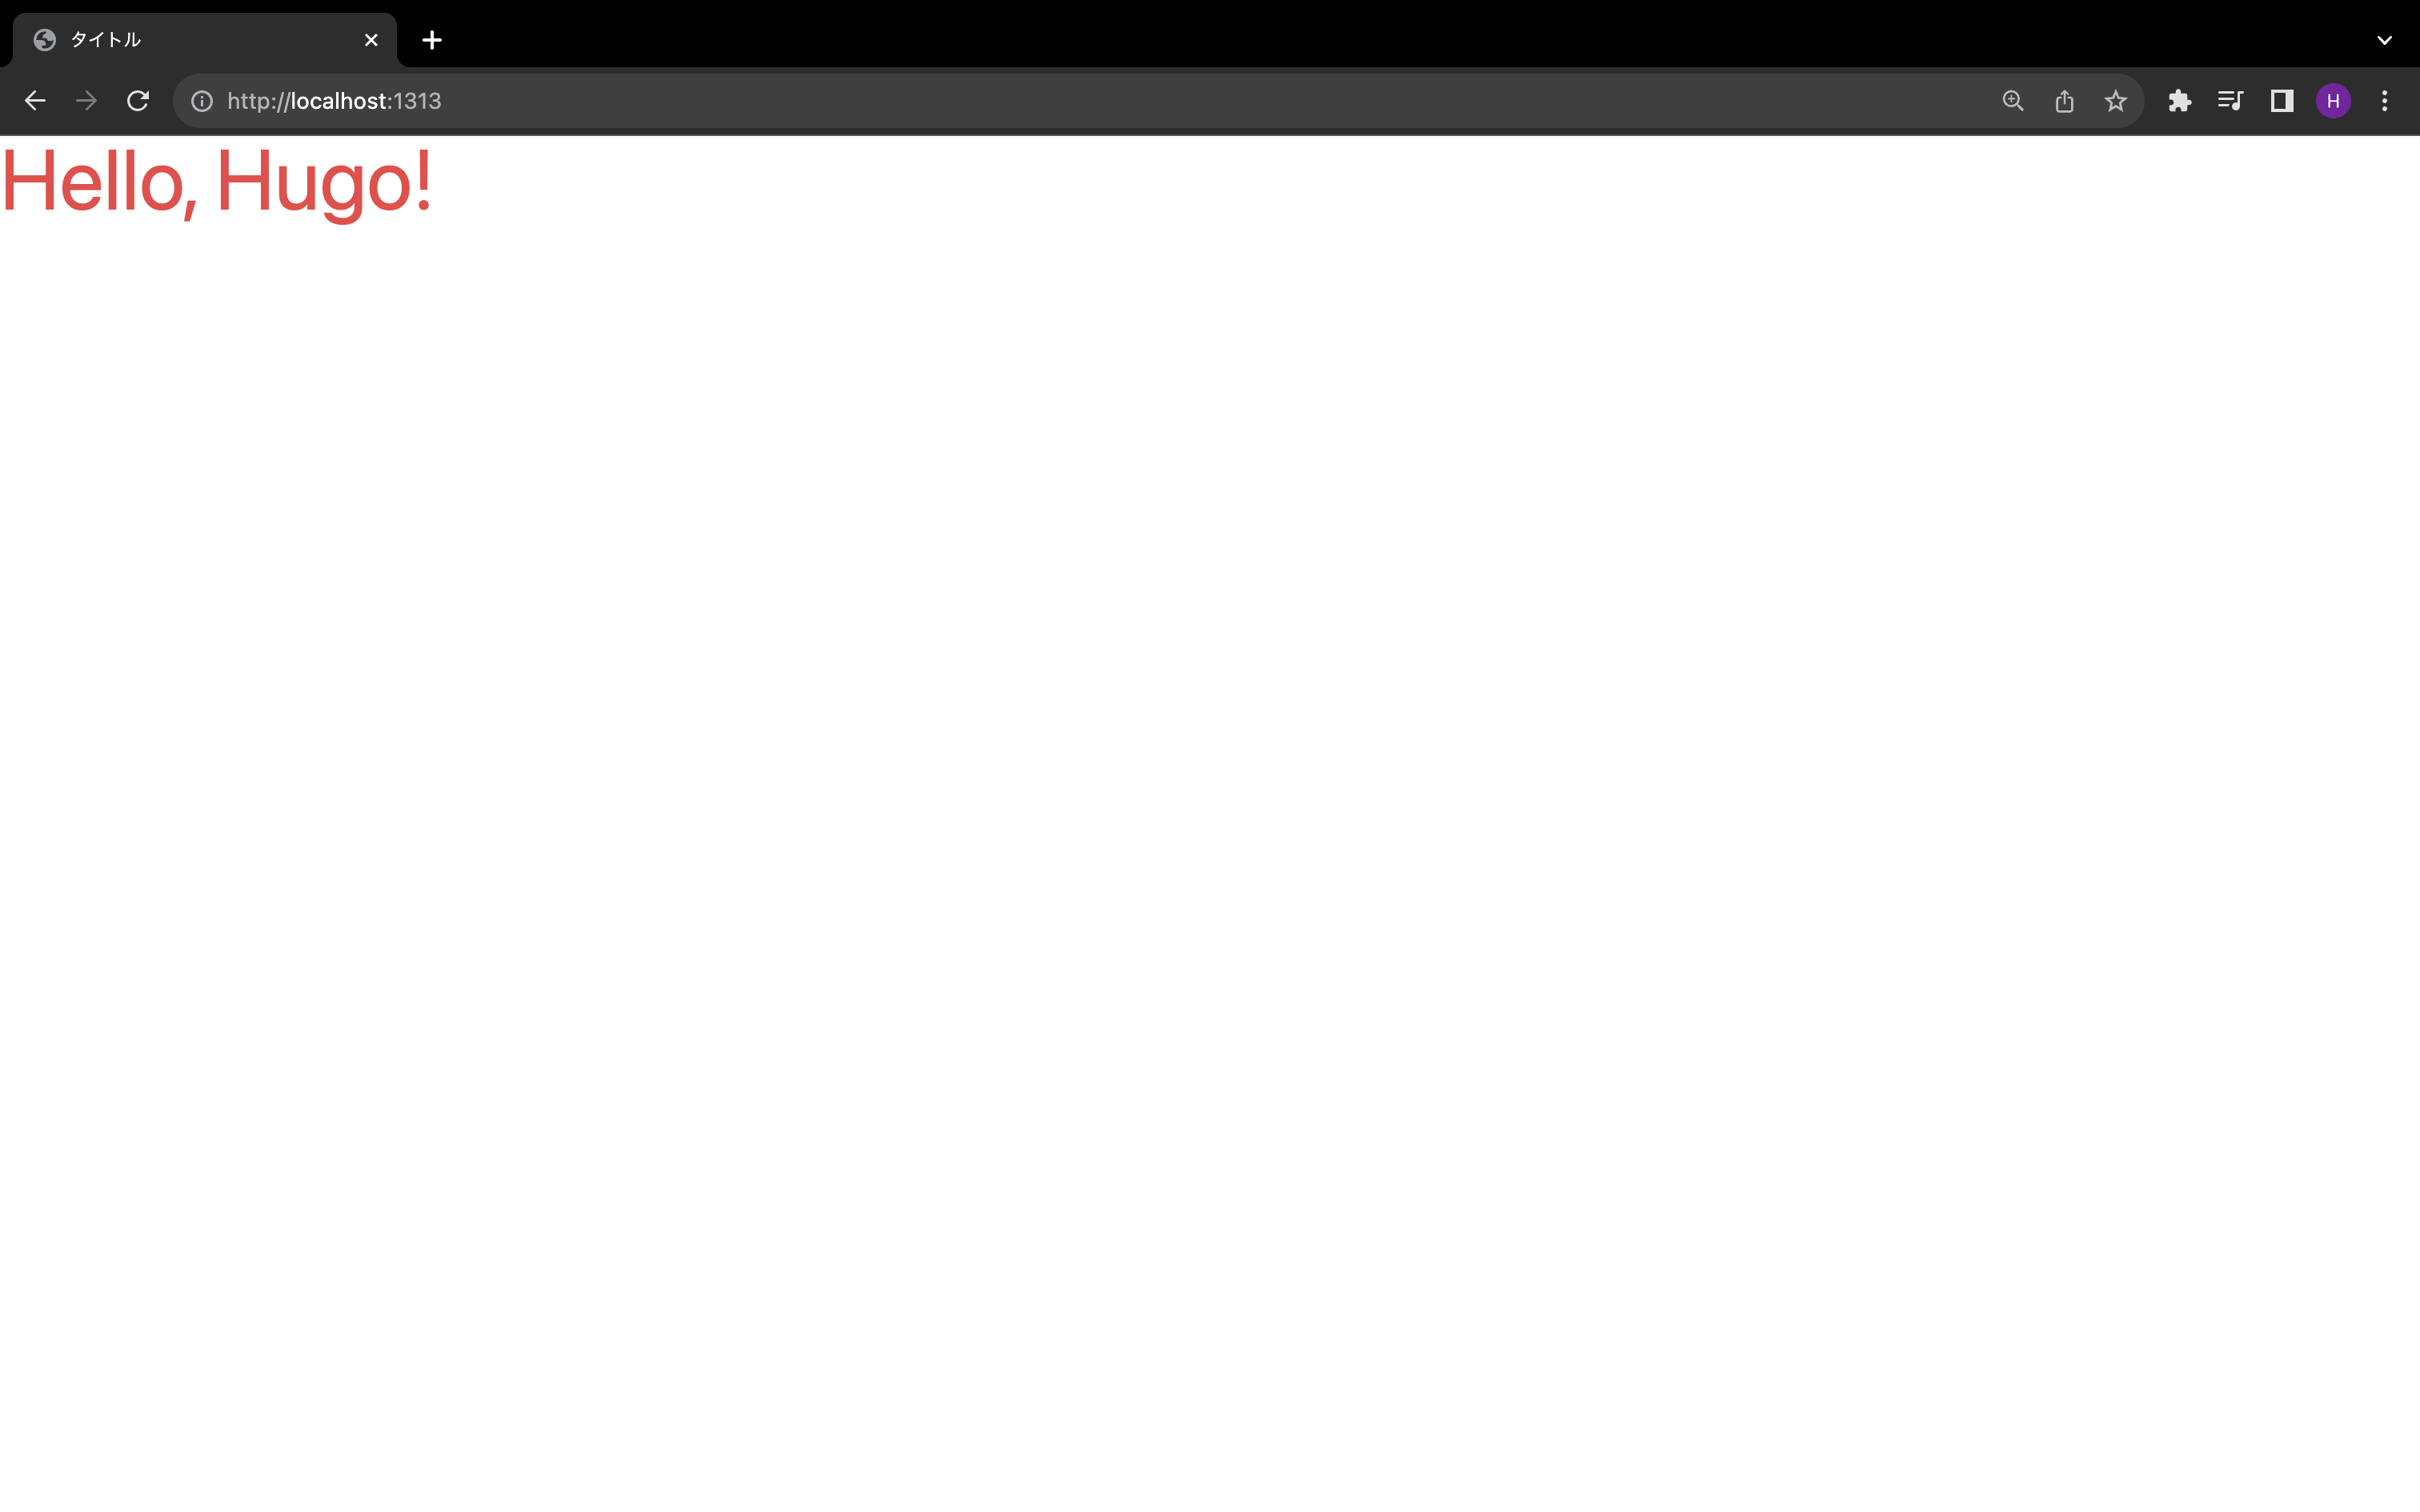
hugo servehttp://localhost:1313にアクセスすると、赤く大きい文字でHello, Hugo!と表示されます。

